While my 2 friends were here yesterday I finished quilting this wallhanging and sewed the binding on. Last night I did the hand sewing on the binding and hanging sleeve. It is 40.5" x 40".
The binding is a black and white stripe made of dashes.
I am really feeling lost and indecisive without my triangle project. It is the journey that I love the most: the process of choosing fabrics as I go and cutting and piecing little by little, experimenting with fabrics and finding out if they are going to work. The end product is nice but the process is wonderful. When the process if over, the last seam sewn, it is like I have lost a good friend. I can visit the quilt top and enjoy it, but I miss the journey. I hope my next project will be as much fun.
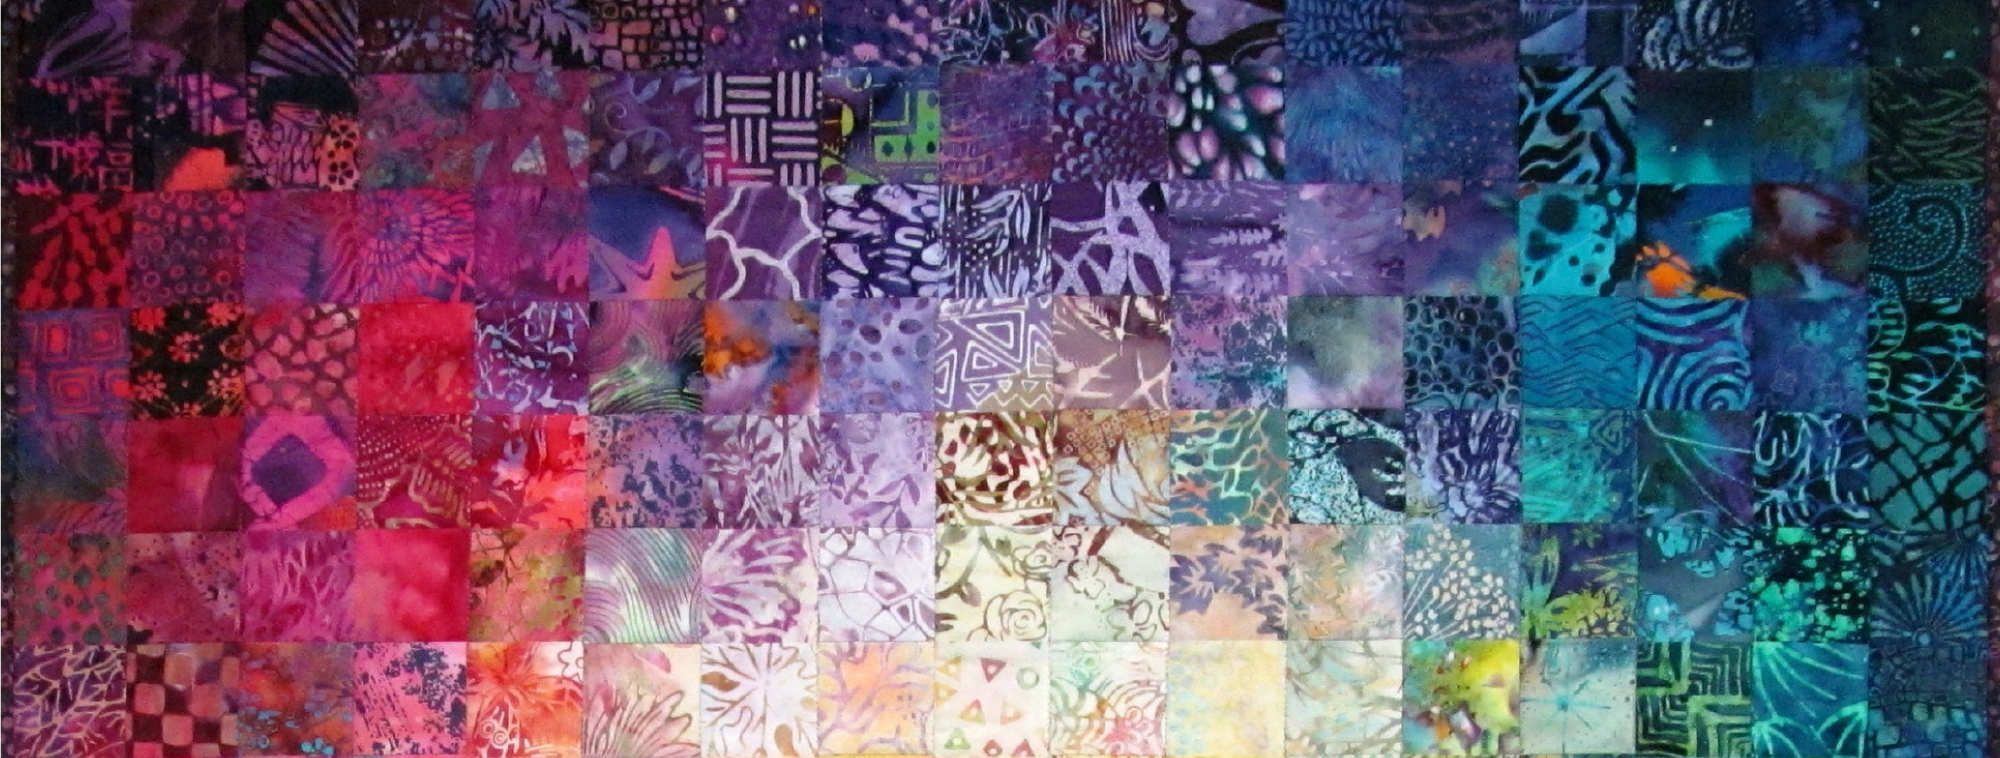
I counted fabrics in it last night and there are 100 different fabrics with 2 repeats. I didn't have to go shopping, the stash was there for me to play with. Here are 2 collages of the quilt progress.
Here is the post with the inspiration for this quilt.
Today's post is part 2; part 1 was yesterday. If you didn't read it yet, go back here.
CandT kindly sent me a copy of this book so I could review it when I posted about Joen's article in "The Quilt Life".
As I said yesterday I own a lot of Joen's books because she has a way of explaining color that everyone can understand. This new book is wonderful with lots of quilt photos in the galleries.
My favorite part of the book is her descriptions and explanations about why each of the quilts was successful. So many people ask me if there are patterns for my quilts when in reality they just need an explanation of why the colors and values worked so well. I learn so much from these explanations because color and value is intuitive with me, not from a formal education about it.
I love this chapter. Joen explains in easy to understand words how to choose one of nature's color schemes for a successful quilt.
I have people telling me all the time that my colors make a pattern work well when really it is Value that is making it work. This chapter helps the reader to understand the uses of value.
Notice the bar across the middle with 2 colors in it. They are the colors Joen is discussing but the top and bottom row show many value changes in each color. Most people forget that red goes all the way from pink to burgundy and if you were supposed to choose a red/green combination, they would choose middle tones of each instead of thinking pink/lime green or burgundy/green. There are all kinds of helpful color studies throughout the book to illustrate her points.
If you don't have a good book about color and value, luminosity and luster, transparency and color temperature, you may want to consider buying this one. You might learn to love a color you never considered using before. Check with your local quilt shop to see if they have it in stock.
The seams are all sewn on this alternate version of Soul Searching. It has come out almost square like the first one so I will probably add end borders on this one too. It is 68" x 72" right now. It was rectangular in the design stage but with only 9 seams vertically and 35 seams horizontally, it shrunk a lot in one direction. It would make a nice large wallhanging but not for my house with 8 ft. ceilings.
I also finished the quilting on the last border of this Streak of Lightning zig zag and pulled out all of the basting and trimmed the edges. I don't want solid black for the binding so I have some searching to do for the right color and fabric.
Here are two of the last three cactus blooms. I'm sure they are probably done now and in another month I will be able to put them outside for the summer. Since I have so many they will have to go out on a rotating basis.
I'm sewing on row 11 of the last 18 rows in this photo. The last 7 rows are clipped together waiting.
I have one more border to quilt on the Streak of Lightning zig zag quilt. I pulled out all of the basting in the rest of the quilt. Now I need to choose binding for it so I can finish it before the end of the month,
I spent the whole morning yesterday finishing the orange and turquoise sections, pressing the part that is pieced (the half on the left) and sorting and putting away leftover fabrics. Last night I took 8 rows down and clipped them together. I started sewing them but I needed to bake cookies so I didn't get much done.
Several "no reply" commenters have asked for the source of this quilt pattern. If you go back a few days you will usually find my reference when I started it. Here is the post where I told about it. If you want answers I have an email link on my right side bar and also on my profile page. OR you could enable your email address in your Google Blogger account and then I can reply to you.
I mowed my front yard yesterday afternoon. It always looks nice when it gets the first cut because it is so uneven in the spring. The grass in the back yard won't need to be cut for at least another week. That's good because my arm and shoulder were really aching by the time I finished.
The design stage on the last workshop piece was finished yesterday afternoon and she stacked and pinned the rows and took them home for sewing.
I worked on mine while she was here. I brought the sewn section down and put it on a double design wall. I took down the other rows from the single wall and clipped them together and then started designing the rest of the colors. I realized I couldn't finish the orange or turquoise one without seeing the first half (they are in the clipped rows) so I left a space for them.
I took the clipped rows upstairs to sew while I watched Netflix last night.
This is rows 9-18 sewn together and laying on my sewing cabinet. I'll press them and add them to the other sewn section today and then I can finish the orange and turquoise area.
One of the ladies decided to do the blocks the way they are in the book. She sewed one together to learn the steps.
Then she just planned the color part of some more blocks and stacked and pinned them to take home and sew.
The other two ladies chose the alternate layout. This one was all planned by the end of the workshop. She stacked and pinned all of the pieces too and will add the light fabrics at home.
This is going to be a wallhanging so she just has one more half block to design. Since she gets off work early in the day she will come back today and finish and then stack and pin to take it home.
I put the light fabrics in mine as I was designing it. I forgot to take another photo when I added another block below the purple one. I started sewing it last night.
I stacked the rows from top to bottom and clipped and labeled them.
I pieced each vertical row and then sewed row 1 and 2, then added row 3, and here I am sewing on row 4.
In this photo I have 6 vertical rows sewn together and then I quit for the night. I'll take it down to the basement this morning and press it and finish designing on a double design wall.
I finally decided this top wasn't going to finish itself so I got the borders done last night. First I added the strips to the 2 sides so the color wasn't touching the edge of the quilt. then I added the 3 rows of strips to the top and bottom. I wanted just a touch of color in the first 2 strips with the outside one being just the light neutrals. Now it is about 76" x 95". In the book it didn't have any borders. I wanted it to be more rectangular so it could be used on a twin bed.
I think these two fabrics will be on the back. I'll probably divide both pieces into 2 different width strips and sew them together alternating. Then I don't have to worry about getting anything centered when I quilt it.
I need to clear off my design walls so I started sewing some tops together. I left the edges of the 8' wide design wall in the picture so you can see this quilt is big. I'm contemplating adding to 2 sides to make it into a more rectangular shape.
I have been making the blocks for this quilt when I go to the twice monthly sewing day. I decided to stop this one at 52" x 60". It is mostly Brandon Mably fabric with a few Kaffe and Philip Jacobs fabrics added. For this one you pair 2 fabrics and cut one 2.5" strip of each. Cut four 8" pieces from each strip, take one piece of each and slice it down the middle lengthwise. That will make 2 blocks that look so different that you won't notice you have 2 blocks of the same fabrics in the quilt.
I have continued making 6" blocks with the leftovers from the plaid/stripe log cabin quilt. I have cut the scraps into 2.5" squares, 4.5" squares and 2.5" x 6.5" rectangles. Every block is pieced the same. I might use these in the pieced backing of the log cabin quilt because they aren't very attractive together.
The second double Amaryllis flower has bloomed. I think there might be a third one now. It is a pretty small bud so I'll be patient and see if it develops into a flower.
I think this is my final arrangement but I'll give it a couple days before I sew it together.
The temperature got all the way up to -11 degrees by evening yesterday. We're supposed to get above 0 today. I sewed all day yesterday finishing the final 24 log cabin blocks. I had to cut some more dark strips to finish them. Each block by itself isn't very pretty but when they get together in a layout, the all over design is wonderful. See this post for the first group of blocks on the design wall.
The sun was shining yesterday so now you can see the true color of the orange cactus bloom.