
I have seen a couple blogs where the person sews each row individually. There are 2 problems with that. First it takes longer to sew the top together and second, you have to mark which end of the row is left (or top) or you take the chance of putting it together wrong.
I usually move a machine close to my design wall. Then I take down vertical rows one and two making sure I don't rotate the piles. Row 1 goes to the left side of my machine and row 2 to the right side. I add one from the right pile on top of one from the left pile and chain stitch them all together. Always leave your beginning tail of thread on where you started and you will always know where the top left corner is.
Then I go back and take down row 3 from top to bottom and put it to the right of my machine, open out the first 2 pieces at the top of my sewn section and now sew piece 3 onto all of the one and twos. I continue adding rows this way.
 Here are pictures from each side of my machine as the fifth piece is being added to each row.
 Here are the rest of the pieces waiting to be taken down to sew.
 When you finish all of your pieces they are all attached together and you don't have to make any decisions the second time about which piece is the beginning of the row and which is at the end because they are all attached to each other. Now I press the seams in opposing directions on the rows and then sew the cross seams.
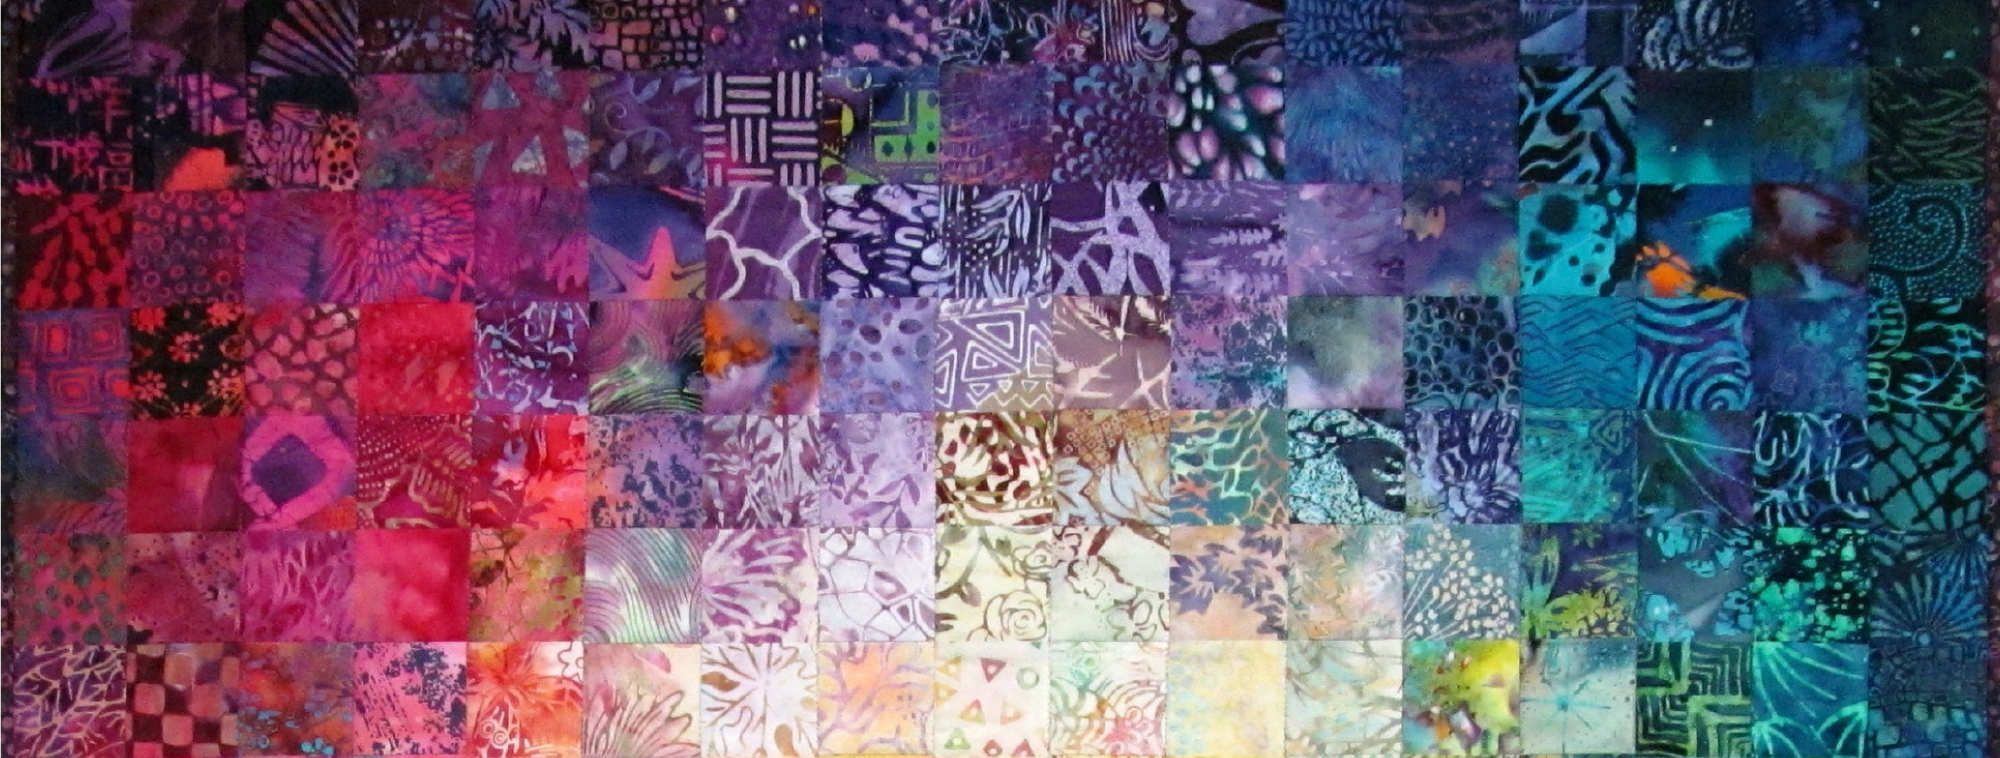
 And the top is done, just as I had it on the design wall. You may remember these blocks if you have been reading my blog for awhile. If you go to LABELS on the right column of this screen and click on CRAZY PIECING and scroll down to Sept. you will see where I tried a bunch of different layouts.
 I finally decided it was time to sew them together and had to make 2 final blocks to get the color to flow the way I liked it. I have named it Rainbow River. Than name just came into mind as I came down the basement stairs and saw it on the far wall. NOW I have to finish it. This top is 48" x 66".
 Some close up shots of the blocks.

 It is cold and sunny today. We're supposed to go down into the deep freeze tonight again.
I usually move a machine close to my design wall. Then I take down vertical rows one and two making sure I don't rotate the piles. Row 1 goes to the left side of my machine and row 2 to the right side. I add one from the right pile on top of one from the left pile and chain stitch them all together. Always leave your beginning tail of thread on where you started and you will always know where the top left corner is.
Then I go back and take down row 3 from top to bottom and put it to the right of my machine, open out the first 2 pieces at the top of my sewn section and now sew piece 3 onto all of the one and twos. I continue adding rows this way.
Here are pictures from each side of my machine as the fifth piece is being added to each row. Here are the rest of the pieces waiting to be taken down to sew. When you finish all of your pieces they are all attached together and you don't have to make any decisions the second time about which piece is the beginning of the row and which is at the end because they are all attached to each other. Now I press the seams in opposing directions on the rows and then sew the cross seams. And the top is done, just as I had it on the design wall. You may remember these blocks if you have been reading my blog for awhile. If you go to LABELS on the right column of this screen and click on CRAZY PIECING and scroll down to Sept. you will see where I tried a bunch of different layouts. I finally decided it was time to sew them together and had to make 2 final blocks to get the color to flow the way I liked it. I have named it Rainbow River. Than name just came into mind as I came down the basement stairs and saw it on the far wall. NOW I have to finish it. This top is 48" x 66". Some close up shots of the blocks. It is cold and sunny today. We're supposed to go down into the deep freeze tonight again. 


