modular quilt tutorial

Cutting and quilting..........

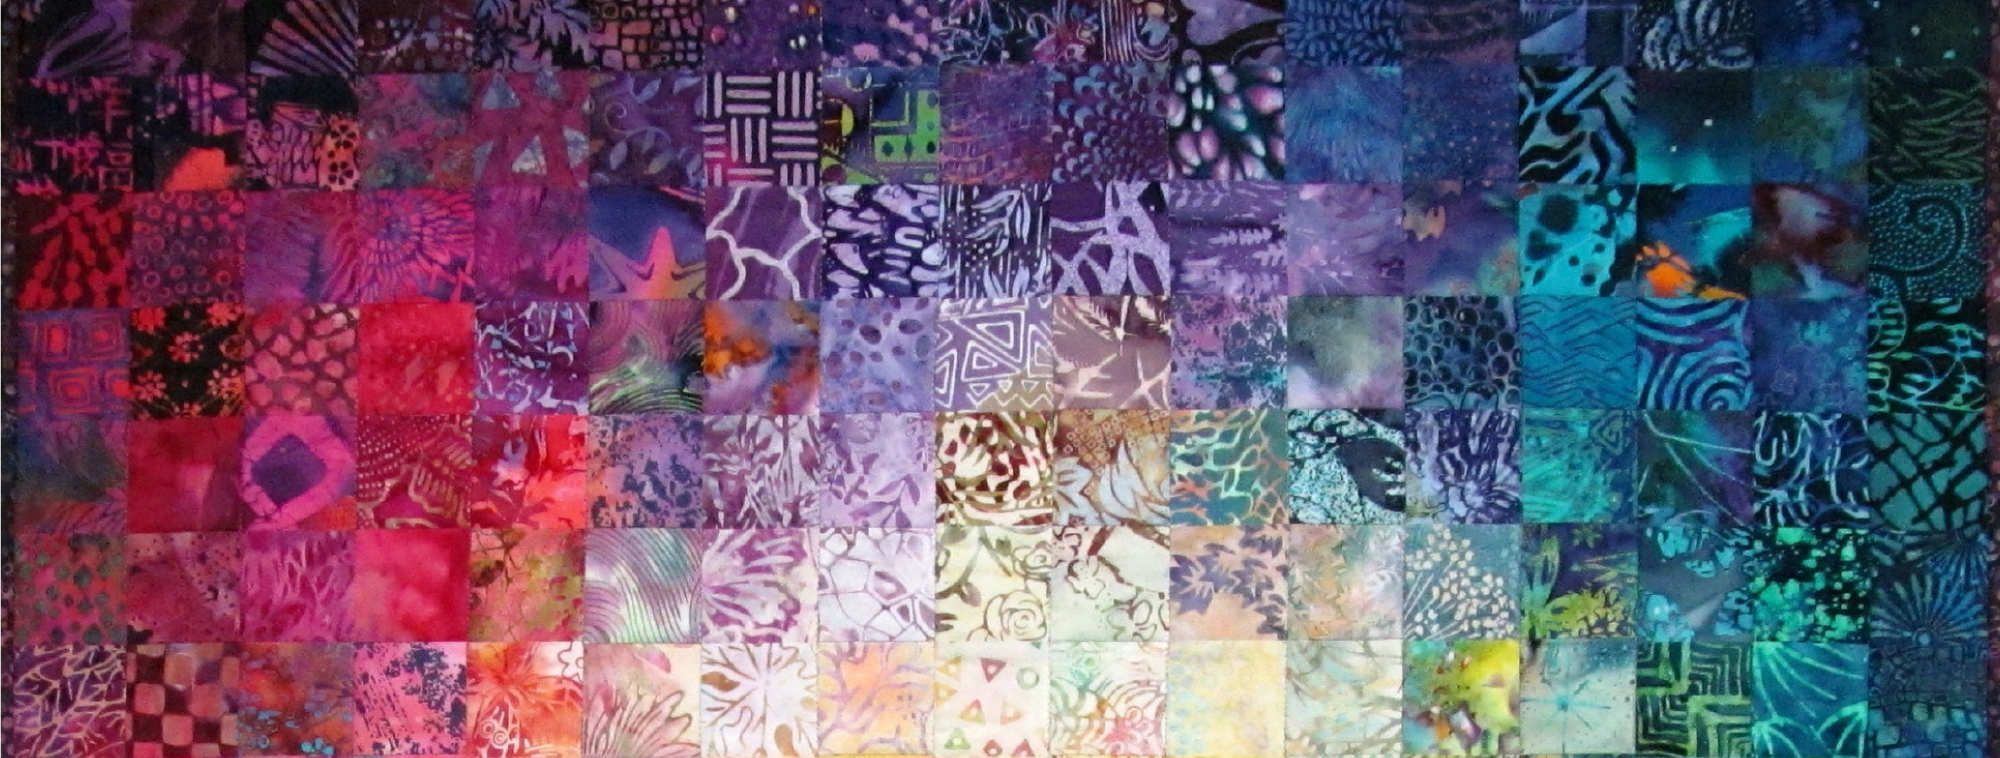
I'm still cutting the Kaffe fabric 2.5" squares.  I have 110 different fabrics cut so far, lots to do yet.
I have had this quilt basted and ditch quilted for a long time waiting to do the free motion quilting with clear monofilament thread.  Click here to see the whole top.  I did a tutorial when I was making this modular quilt.  If you go to my Label list on the right sidebar it is called Modular Quilt Tutorial.  I think I am about half way done with the quilting. 

I planted some Canna bulbs yesterday at the lot line in back.  I may plant a couple in pots too.

Modular quilt tutorial part 6

The top is done and staystitched around the 3 edges that have seam ends on them.  The left side is all one piece except for 6" at the top so it didn't need the staystitching.  It ended up at 41" x 51".  All of the steps in the tutorial can be easily accessed by going to my Label list on the right sidebar and clicking on modular quilt tutorial.

Modular quilt tutorial part 5

This is the last entry of the tutorial other than a photo of the whole quilt sewn together.  I am down to the last 6 seams.
This is a close up of the part with the 2 partial seams.  I pinned them back so you can see where they are.  I need to sew the 2 horizontal seams first and then do the vertical seam which will finish the 2 partial seams.

Modular quilt tutorial part 3

You need to continue cutting pieces of all of the fabrics you think will work and when you have a size where you want to stop, it is time to see if there is anything you want to change.  This is about 39" x 51" right now.  I knew I wasn't making a bed size quilt but didn't know when I would stop until I was actually working on it.  I can see several places that are 'mushy', not enough contrast between the pieces.  I need to look for a couple more deep blues.  I know this looks black and white on the monitor but it is really deep indigo blue Dutch Wax batiks.

Then I realized I hadn't used the Escher print I showed in part 1 so I cut a strip of it.

It wasn't quite long enough to put on the side of the quilt so I added a piece that was similar to the top.

This quilt made from directions in a Kaffe Fassett book is also a modular quilt.  All of the pieces are 3.5", 6.5" or 9.5" squares.
I had to make this quilt twice; two different color schemes.

Modular quilt tutorial part 2

I cut many areas into my chosen sizes, using about 1/2 yard of this fabric.  I cut several other fabrics too.  You have to just cut shapes to play with using the chart I gave you yesterday as starting point.
Then I went to the design wall and just started putting pieces up there.  You have to overlap slightly to make them fit while they still have seam allowances on them. I have the extra pieces not used yet to the right of the piece.  I also have 4 more fabrics cut into shapes since I took this photo.  This isn't the final layout but just a quick play time to see if it is going to work.  I will replace a lot of these pieces with the new ones that I cut as I go.  You have to decide if you want to cut every fabric before you play or just cut a few and play a little.

If you are making a small piece you want to use each fabric at least 3 times for a balance in the design.  If you are making a large quilt you might use 5-8 pieces of each fabric.

This is another quilt that I used the modular approach for.  I have 2 sizes of stars, 4 patches, plain squares in 2 sizes and large stars.
In this quilt I used the large star block as the main size and all of the combinations of small pieces made a block the same size as the star.  It was easy to sew together in straight rows unlike the hand dyed one with the partial seam in the construction.  This quilt was started in 2004 and finished in 2009.

Modular quilt tutorial part 1

This is the fabric that I am going to use in the next modular quilt so you will see it taking shape over the next few posts.  As I am choosing the fabrics I am thinking about the sizes I will cut the pieces.
Here are some more of the fabrics.  The smaller prints will be cut into the smallest pieces, the ones with a motif I want to see more of will be cut larger.
I like to work with multiples of a number.  In a lot of my quilts it is 3".  It needs to be multiplied by 2, 3, 4, and 5, or in other words, count by 3's.  So my modules will finish at 3", 6", 9", 12" and 15".  Once you have the numbers figured out you need to add 1/2" (.5) to each of them so my cutting sizes are 3.5", 6.5", etc.

The rectangles can be any 2 of the numbers such as 3.5" x 9.5" or 6.5" x 12.5" and of course all of the numbers can be cut into squares.  I know the large elephant will be in a 15.5" square.
This piece might be a long skinny vertical rectangle to get the whole design in one piece.  You can see in the photo below that is says Escher Heirs on the selvage.

I will start cutting today and continue the tutorial tomorrow.  When I make a modular quilt I just start cutting pieces and playing with them on the design wall.  I don't pre-plan my design.
If you go back to this post you will see that several of the fabrics I am using are a gift from a friend.  Thanks, Diane.