
Measure around the fattest part of your water bottle and add
1 ¼” – 1 ½”. Figure the height measurement (your choice for how much of the bottle you want covered).
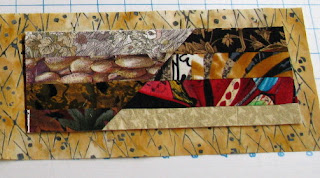
Make patchwork, embroidery, etc. to match your measurements. Iron to fusible batting or use spray to adhere them together. Fuse or spray baste this to a piece of fabric for lining that is about 1” larger around all edges.
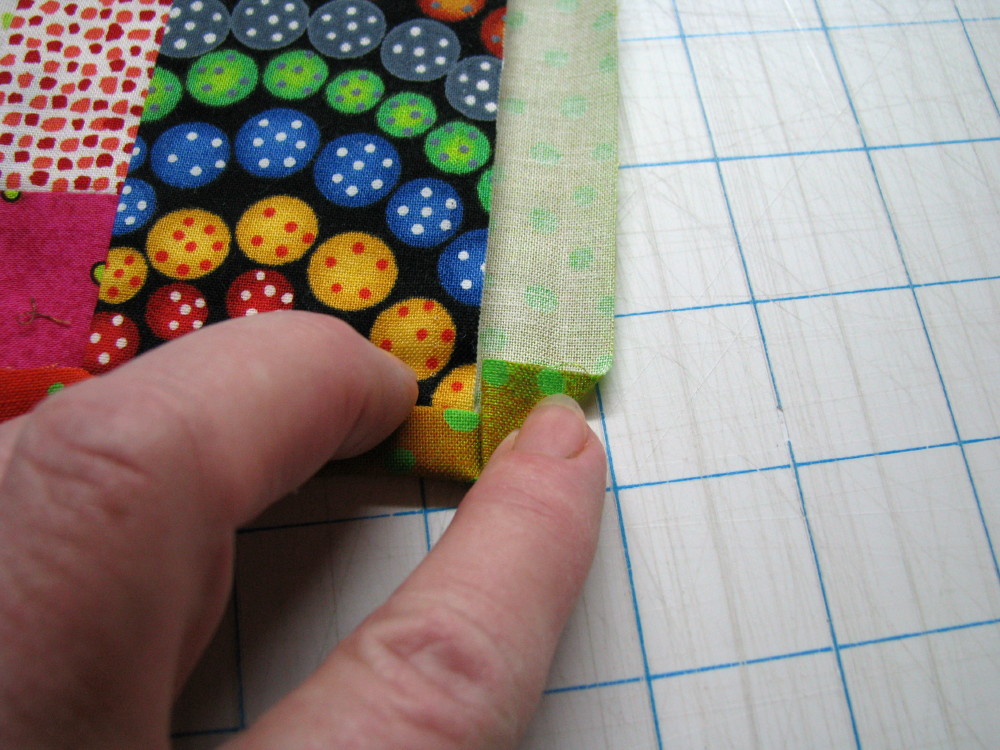
Place the ¾” line on your ruler along the edge of the patchwork and trim with your rotary cutter. This leaves an edge you can wrap to the front for binding.
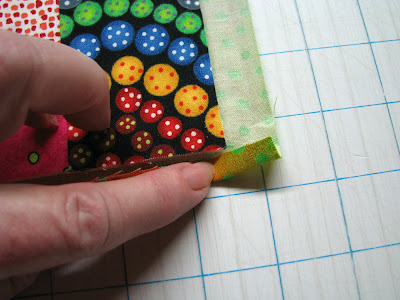
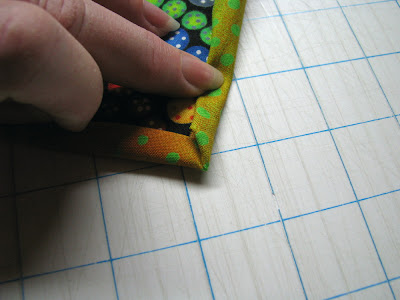
Bring the edge of the lining up to the edge of the patchwork and then fold in once more. Make mitered folds at the corners and topstitch close to the folded edge. The photos below show it in detail.

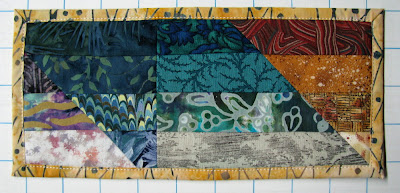
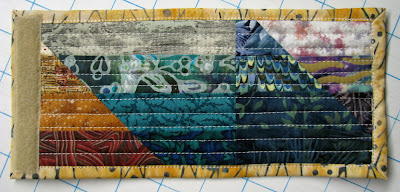
If desired you can quilt it at this point if it wasn’t quilted prior to assembly. It doesn’t have to be quilted (your choice).
Sew Velcro on the ends, the hook portion on the lining side and the loop portion on top of the cozy. I only sew 3 sides of the hook tape in place so I won't have a line of stitching showing on the patchwork.
1 ¼” – 1 ½”. Figure the height measurement (your choice for how much of the bottle you want covered).

Make patchwork, embroidery, etc. to match your measurements. Iron to fusible batting or use spray to adhere them together. Fuse or spray baste this to a piece of fabric for lining that is about 1” larger around all edges.
Place the ¾” line on your ruler along the edge of the patchwork and trim with your rotary cutter. This leaves an edge you can wrap to the front for binding.
Bring the edge of the lining up to the edge of the patchwork and then fold in once more. Make mitered folds at the corners and topstitch close to the folded edge. The photos below show it in detail.

Fold up to the edge...
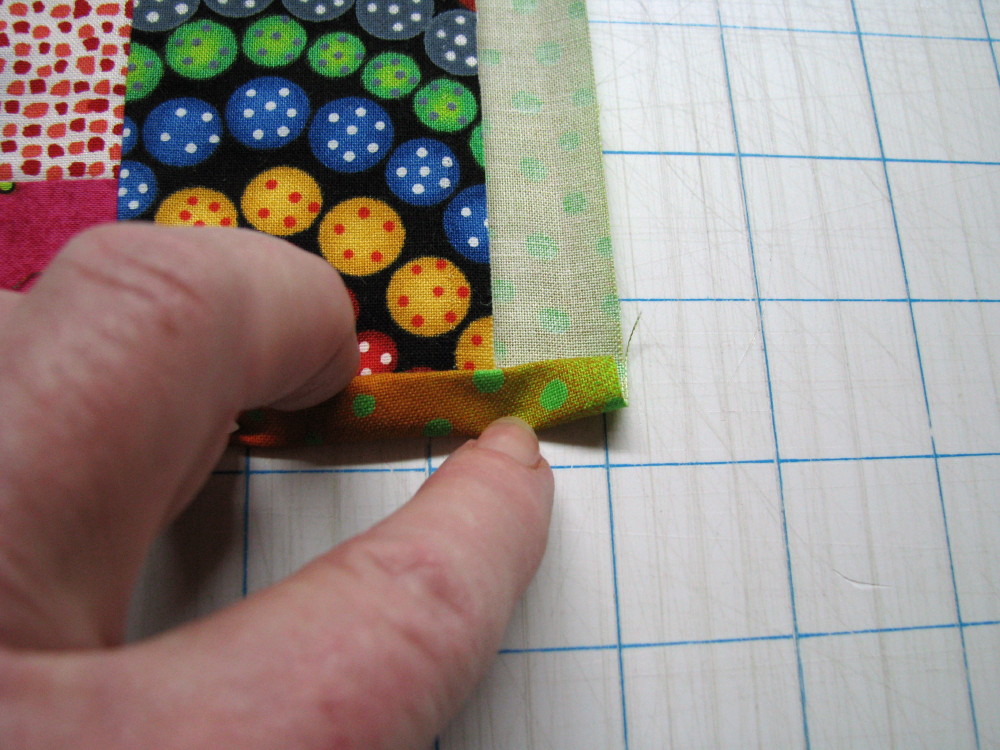
Fold again up over edge of patchwork...
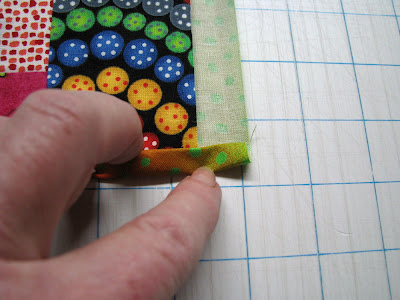
Fold a diagonal, making sure it is straight...

Fold into the edge of patchwork...

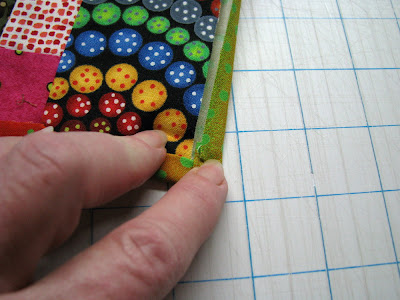
Fold a second time over the edge of the patchwork. Each bottom edge must be folded into the miter as you are approaching it. Make sure you stop about 2" back so you have room to do the folding. If you finish the right side stitching and try to fold the miter as you get to the corner, your presser foot will bump it back and you will have to refold again. By folding the bottom edge and corner and then finishing the folding of the side edge, you will not have any problems. This puts the side fold on top of the bottom one and there is nothing to bump into with your foot.


If desired you can quilt it at this point if it wasn’t quilted prior to assembly. It doesn’t have to be quilted (your choice).
Sew Velcro on the ends, the hook portion on the lining side and the loop portion on top of the cozy. I only sew 3 sides of the hook tape in place so I won't have a line of stitching showing on the patchwork.